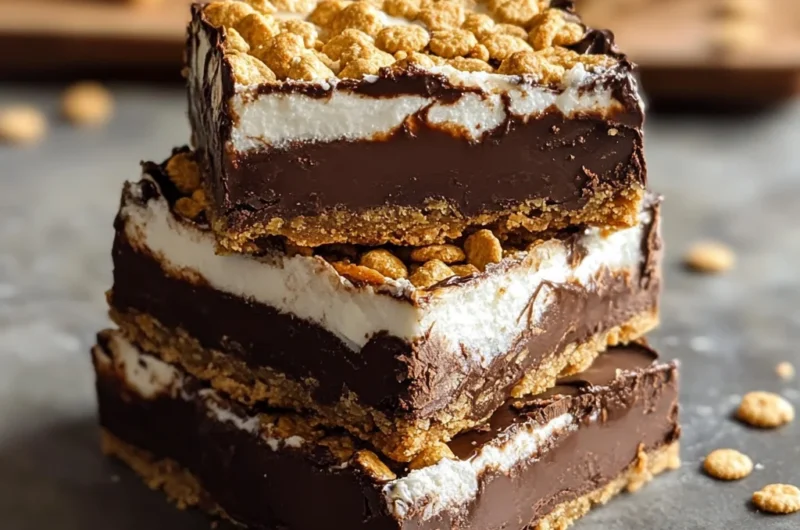
There’s something so wonderfully nostalgic about s’mores, isn’t there? Maybe it’s the memories of summertime camping trips, sitting around a crackling fire, roasting marshmallows to golden perfection while your friends eagerly wait for that first gooey bite. But what if you could capture all that magic without the fire, smoke, or even stepping outside? That’s exactly why I love these Easy S’more Bars — they bring all the gooey, chocolatey goodness of a campfire s’more into a simple, no-fuss dessert you can whip up anytime. Whether it’s a spontaneous craving, a family gathering, or just a cozy night in, these bars hit the spot every single time.
Not only are they super quick and easy to make, but they’re also incredibly satisfying and utterly shareable. I’m excited to walk you through every step of making these decadent chocolate graham treats that will soon become a staple in your dessert rotation. Plus, they’re a perfect gift to bring along to potlucks or parties—everyone loves a sweet treat that’s both familiar and indulgent!
Why You’ll Love Easy S’more Bars – Decadent Chocolate Graham Treat
- Fast: Ready in under 30 minutes, these bars come together before you know it.
- Easy: No special equipment or fancy ingredients needed—just pantry basics.
- Giftable: Perfect for sharing with friends, family, or coworkers.
- Crowd-pleasing: Classic flavors that everyone loves, from kids to adults.
Ingredients
Let’s start with the basics — here’s what you’ll need to make these irresistible s’more bars:
- 2 cups graham cracker crumbs: This forms the crunchy, slightly sweet base of our bars. I like to pulse whole graham crackers in a food processor until fine for the best texture.
- 1/2 cup melted butter: The butter binds those crumbs together and adds a rich, buttery flavor.
- 4 cups chocolate chips: I usually go for semi-sweet chocolate chips, but you can mix it up with milk or dark chocolate depending on your preference.
- 1 package mini marshmallows: These little puffs toast beautifully in the oven, creating that signature gooey top layer.
- 1/4 teaspoon salt (optional): Just a pinch to balance the sweetness and enhance the chocolate flavor.
Each ingredient plays its part in creating the perfect harmony of textures and flavors that make s’mores so beloved. If you’ve ever wondered how to replicate that campfire experience at home, this recipe is your answer.
How to Make Easy S’more Bars – Decadent Chocolate Graham Treat
Now, let’s dive into the fun part — making the bars! I’ll guide you through each step so your bars turn out perfectly every time.
- Preheat your oven to 350°F (175°C). This ensures your bars bake evenly and your marshmallows get that perfect golden glow.
- Mix the graham cracker crumbs with melted butter. In a large mixing bowl, combine the crumbs and butter until every crumb is evenly coated. This step is key to a firm crust that holds together nicely. If you want an extra buttery crust, feel free to add a tablespoon more butter.
- Press the mixture firmly into the bottom of a 9×13 inch baking pan. Use the bottom of a glass or your fingers to press the crust down evenly. The firmer, the better—it’ll help your bars hold their shape when sliced.
- Spread the chocolate chips evenly over the graham cracker crust. Don’t worry about being too exact—chocolate chips can be scattered freely for an even melt.
- Bake for 5-7 minutes until the chocolate chips soften. You want them melty but not completely liquefied. This step creates that luscious chocolate layer that’s key to the s’more flavor.
- Remove from oven and smooth the softened chocolate with a spatula. This helps create an even layer, so every bite has just the right balance of chocolate and crust.
- Sprinkle mini marshmallows evenly over the chocolate layer. Don’t be shy! The marshmallows puff up as they bake and give you that signature gooey top.
- Return the pan to the oven and bake for 8-12 minutes. Watch closely! You want the marshmallows puffed and golden brown but not burnt. This is the moment where the magic happens—the marshmallows turn soft, melty, and toasty.
- Allow the bars to cool completely on a wire rack for 1-2 hours. This step is crucial for the bars to set properly. I know it’s tempting to dig in right away, but patience here means cleaner slices and less mess.
- Slice into bars using a sharp knife. For perfect cuts, dip your knife in hot water and dry it between slices. This simple trick prevents sticky marshmallow goo from ruining your clean edges.
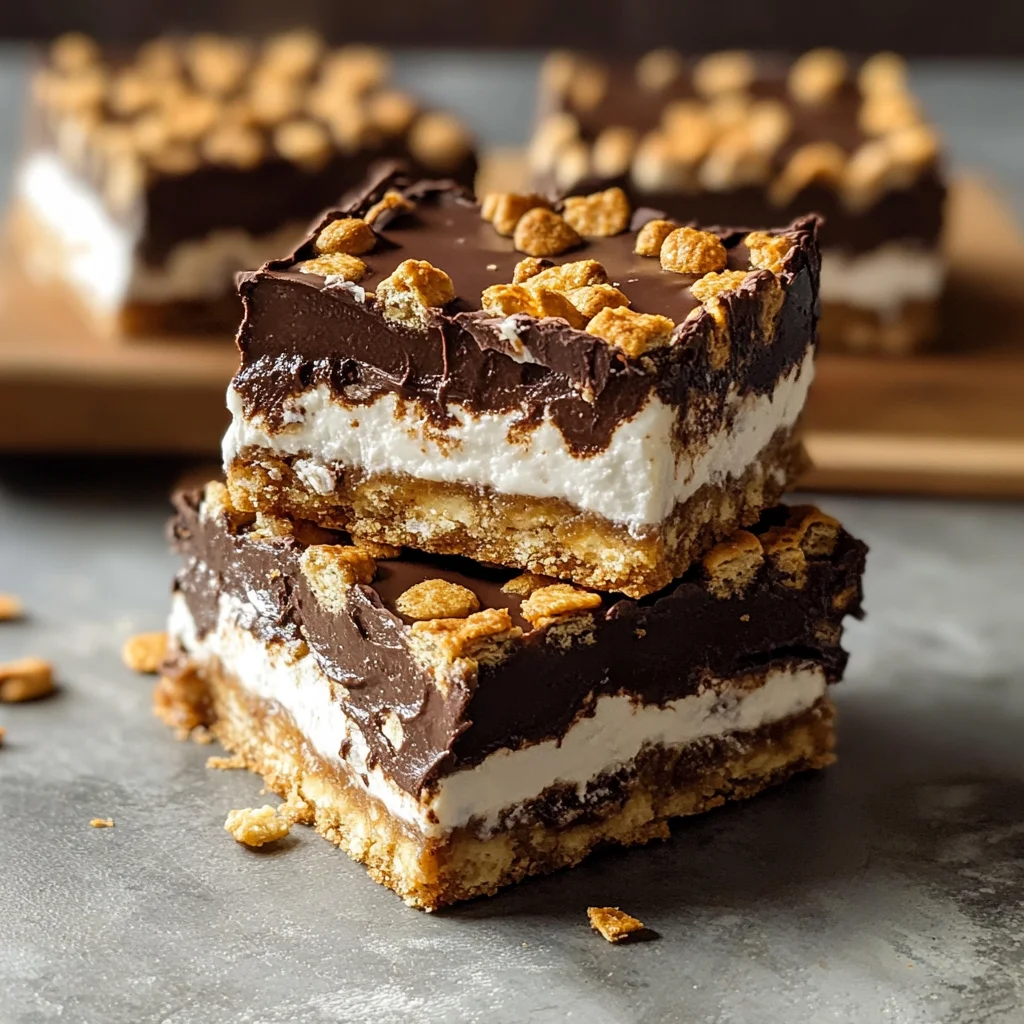
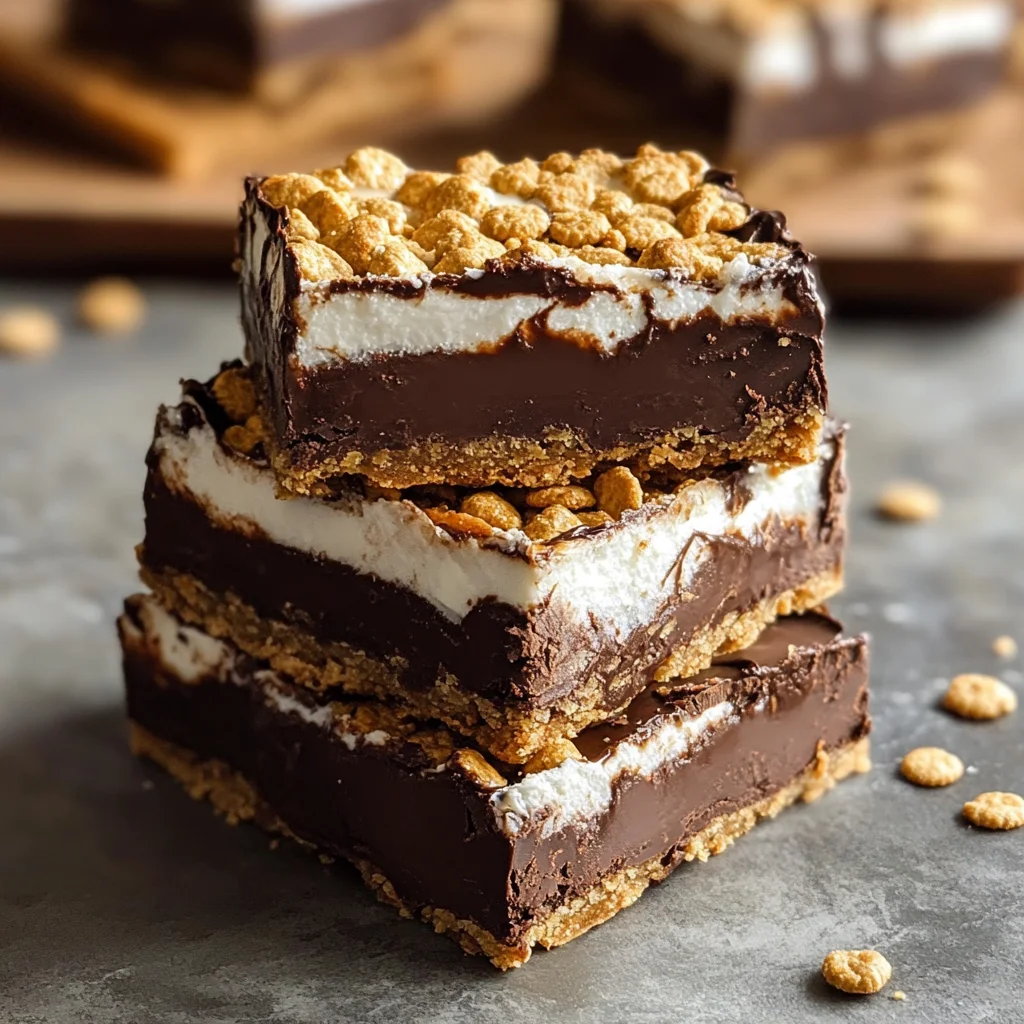
And voilà! You’ve got yourself a pan full of delicious, nostalgic s’more bars that taste like summer campfire memories wrapped up in a neat little square.
Substitutions & Additions
One of the best things about this recipe is how adaptable it is! Feel free to get creative with substitutions and additions to make it your own.
- Crust alternatives: Swap graham cracker crumbs with crushed digestive biscuits or even gluten-free cookies if you need a gluten-free version.
- Chocolate variations: Try mixing in white chocolate chips or peanut butter chips for a different flavor twist.
- Marshmallow options: Use jumbo marshmallows cut in half for a chunkier texture or flavored marshmallows like strawberry for a fun surprise.
- Add nuts or dried fruit: Sprinkle chopped toasted pecans, almonds, or dried cherries over the chocolate before adding marshmallows for extra crunch and flavor.
- Drizzle with caramel or peanut butter: After baking, add a drizzle of caramel sauce or melted peanut butter for an extra indulgent touch.
If you’re curious about other easy no-bake treats, you might enjoy checking out this easy no-bake Martha Washington candy recipe, which shares that same nostalgic vibe but with a different flavor profile.
Tips for Success
Here are a few of my favorite tips to make sure your s’more bars turn out perfect every time:
- Firmly press the crust: Don’t be shy about packing the graham cracker crust tightly in the pan—it’s the foundation of your bars.
- Watch the marshmallows carefully: Oven temperatures can vary, so keep an eye on the marshmallows as they brown quickly and can go from perfect to burnt in seconds.
- Let them cool completely: It’s tempting to dig in hot, gooey bars, but letting them cool fully helps them set and makes slicing way easier.
- Use a sharp knife dipped in hot water: This simple hack helps you cut through sticky marshmallows cleanly without tearing the bars apart.
- Prep ahead: You can prepare the crust and chocolate layer the day before, then add marshmallows and bake right before serving for the freshest topping.
Making these bars ahead of time is a lifesaver for busy days or when you want to impress guests with minimal last-minute effort. I often prepare the base crust and chocolate layer the evening before a gathering, then add marshmallows and bake just before everyone arrives.
How to Store Easy S’more Bars – Decadent Chocolate Graham Treat
After all your hard work, you’ll want to keep these bars fresh and delicious. Here’s how to store them properly:
- Room temperature: Store the bars in an airtight container at room temperature for up to 3 days. They’ll stay soft and gooey but still hold together nicely.
- Refrigerator: For longer storage, place them in an airtight container and refrigerate for up to a week. Bring them to room temperature or pop them in the microwave for a few seconds to soften before serving.
- Freezing: Wrap individual bars tightly in plastic wrap and then place in a freezer-safe bag. Freeze for up to 2 months. Thaw at room temperature before enjoying.
These bars are a great make-ahead dessert for parties or holiday gatherings. Just be sure to slice them after they’ve cooled and set, so they stay neat when stored.
FAQs
Can I use regular-sized marshmallows instead of mini ones?
Yes! If using regular marshmallows, cut them in half or quarters so they distribute evenly and melt properly over the chocolate layer.
Do I have to bake the chocolate chips before adding marshmallows?
Baking the chocolate chips briefly softens them, making it easier to spread a smooth layer and helps the marshmallows stick better. Skipping this step may result in uneven layers.
What can I do if my marshmallows brown too quickly?
If you notice the marshmallows are browning too fast, lower the oven temperature slightly or move the pan to a lower rack to avoid burning.
Can I make these bars vegan or gluten-free?
Absolutely! Use dairy-free butter and vegan chocolate chips, and substitute gluten-free graham crackers or cookies for the crust. Just be sure your marshmallows are vegan-friendly, as many traditional marshmallows contain gelatin.
If you love quick and cozy treats like this, you might also enjoy the cozy creamy tortellini soup recipe on the blog—it’s a perfect warm-up meal that anyone can make on a busy night.
And if you ever want to switch gears from sweet to savory snacks, the crispy roasted baby potatoes recipe is another crowd-pleaser that’s simple and delicious.
I hope you enjoy making (and eating!) these Easy S’more Bars as much as I do. They’re pure comfort and joy in every bite, perfect for sharing or treating yourself.
Don’t forget to follow me on Pinterest for more delicious recipes and kitchen inspiration!
Easy S’more Bars - Decadent Chocolate Graham Treat
Ingredients
Equipment
Method
- Step 1: Preheat your oven to 350°F (175°C) to ensure even baking and perfect marshmallow toasting.
- Step 2: Mix the graham cracker crumbs with melted butter in a large bowl until all crumbs are evenly coated, forming a firm crust. For extra buttery crust, add 1 tbsp more butter.
- Step 3: Press the crumb mixture firmly into the bottom of a 9×13 inch baking pan using a glass bottom or your fingers for an even, compact crust.
- Step 4: Spread the chocolate chips evenly over the graham cracker crust. Don’t worry about precision; scatter freely for an even melt.
- Step 5: Bake for 5-7 minutes until the chocolate chips soften but aren’t fully melted, creating a luscious chocolate layer.
- Step 6: Remove from oven and smooth the softened chocolate with a spatula to create an even layer.
- Step 7: Sprinkle mini marshmallows evenly over the chocolate layer, covering it generously.
- Step 8: Return the pan to the oven and bake for 8-12 minutes until marshmallows are puffed and golden brown but not burnt. Watch carefully!
- Step 9: Allow the bars to cool completely on a wire rack for 1-2 hours to set properly for clean slicing.
- Step 10: Slice into bars with a sharp knife dipped in hot water and dried between cuts to prevent sticky marshmallow mess.