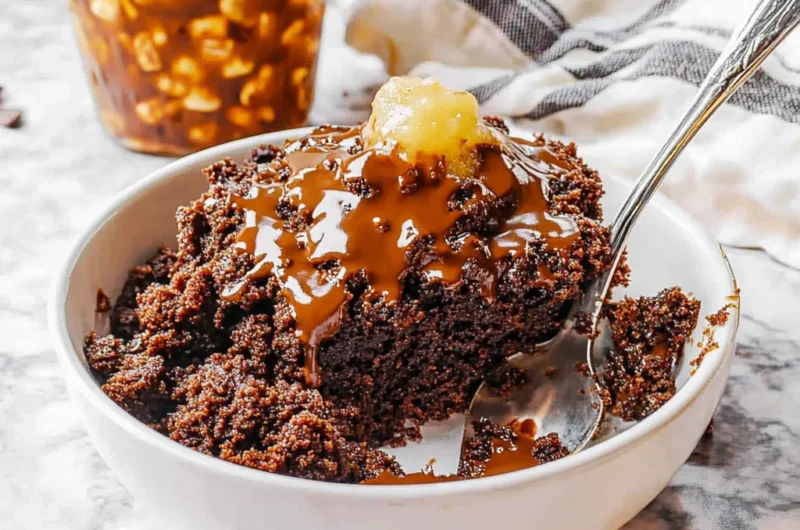
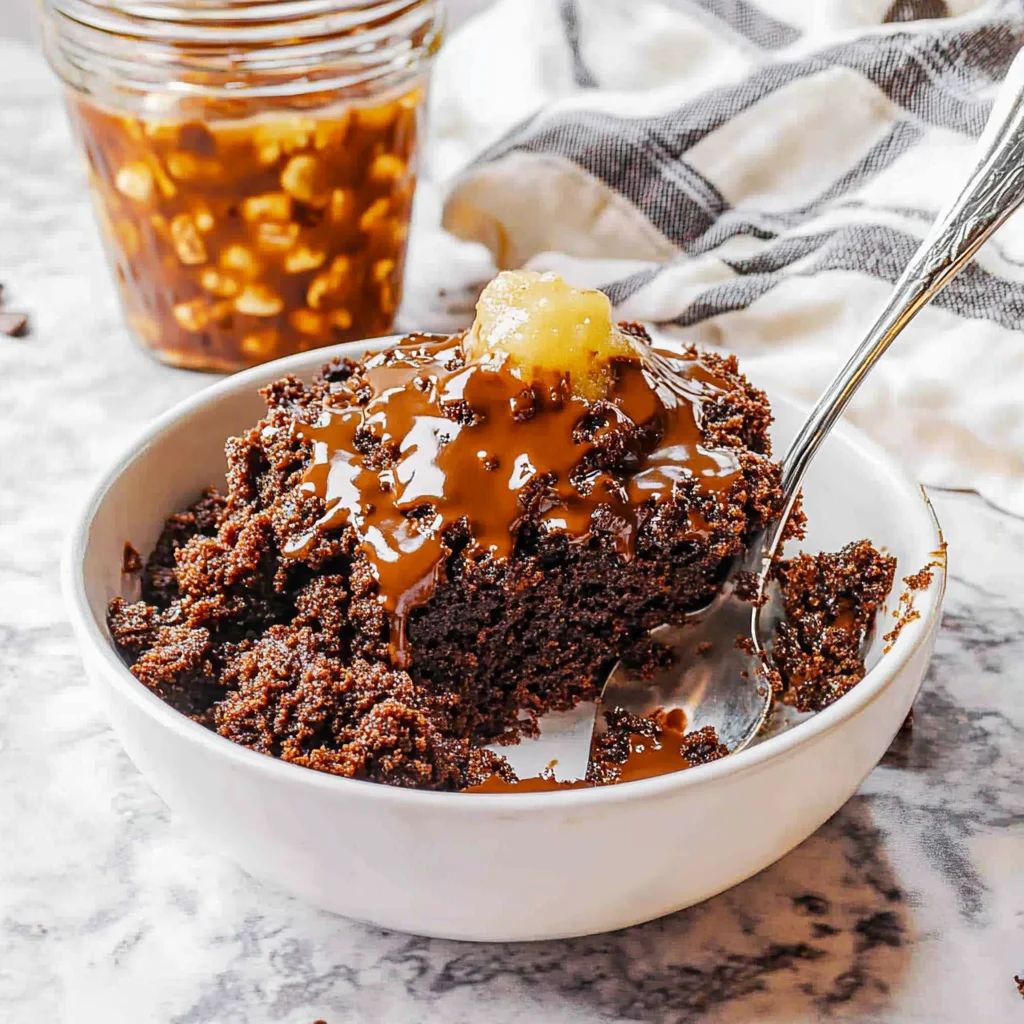
Oh, friend, do you ever get that intense, undeniable craving for something rich, chocolatey, and utterly comforting, but the thought of a complicated recipe just makes you want to crawl back under your blanket? I know I do! There are days when I just need a dessert that feels like a warm hug from Grandma, something that requires minimal effort but delivers maximum deliciousness. That, my dear baking buddy, is where the magic of Chocolate Dump Cake comes in. This isn’t just a recipe; it’s a life hack. It’s the kind of dessert that feels special enough for a celebration but is so ridiculously easy, you’ll wonder why you haven’t been making it every single week. Get ready to fall in love with simplicity and pure chocolate bliss!
Why You’ll Love Chocolate Dump Cake
- Fast: Seriously, from pantry to oven in minutes!
- Easy: No complicated steps, just “dump and bake.”
- Giftable: Perfect for sharing with neighbors, friends, or bringing to a potluck.
- Crowd-pleasing: Who doesn’t love warm, gooey chocolate cake?
Ingredients
Gathering your ingredients for this chocolatey dream is almost as easy as making the cake itself! You likely have most of these on hand already.
- 15.25 ounces (432g) chocolate cake mix: Your favorite brand will do! This is our glorious base, providing that classic cake flavor and texture.
- 5.1 ounces (145g) instant chocolate pudding mix: The secret weapon! This little packet is going to make our dump cake unbelievably moist and add an extra layer of chocolatey depth. It’s truly transformative.
- 2 ½ cups whole milk: Full-fat milk works best here to create that rich, creamy texture we’re after. Don’t skimp on the goodness!
- ½ cup butter, melted: Because everything is better with butter, right? This will create a luscious, buttery crust on top as it bakes.
- 12 ounces (340g) semi-sweet chocolate chips: For those irresistible pockets of melted chocolate throughout. You can adjust the amount to your chocolate-loving heart’s content!
How to Make Chocolate Dump Cake
Alright, let’s get to the good part! You’re just a few simple steps away from chocolate heaven.
- First things first, let’s get that oven ready. You’ll want to preheat your oven to 350°F (175°C). While it’s heating up, grab a 9×13-inch baking dish and give it a good spray with non-stick cooking spray. This just ensures our delicious cake slides right out when it’s time to serve.
- Now for the “dump” part! Carefully spread the entire chocolate cake mix in an even layer across the bottom of your prepared dish. Don’t worry about lumps or being perfectly neat, we’re going for rustic charm here! Next, sprinkle the instant chocolate pudding mix right over the cake mix. See how easy this is? Now, pour the whole milk evenly over those dry ingredients. Take a fork or a small whisk and gently, gently whisk just to combine the milk with the dry mixes. You don’t need to be aggressive; just make sure there are no huge pockets of dry mix remaining.
- Next up, drizzle that glorious melted butter evenly over the top of your cake mixture. This is going to create a beautiful, rich crust. Finally, sprinkle those semi-sweet chocolate chips all over. They’ll melt into pools of gooey chocolate as it bakes.
- Pop your dish into the preheated oven and bake for 40-45 minutes. You’re looking for the edges to be bubbly and set, and the top to be slightly firm. The middle will still be wonderfully gooey, and that’s exactly what we want! I always set a timer for 40 minutes and then check it – every oven is a little different, so yours might need a few more.
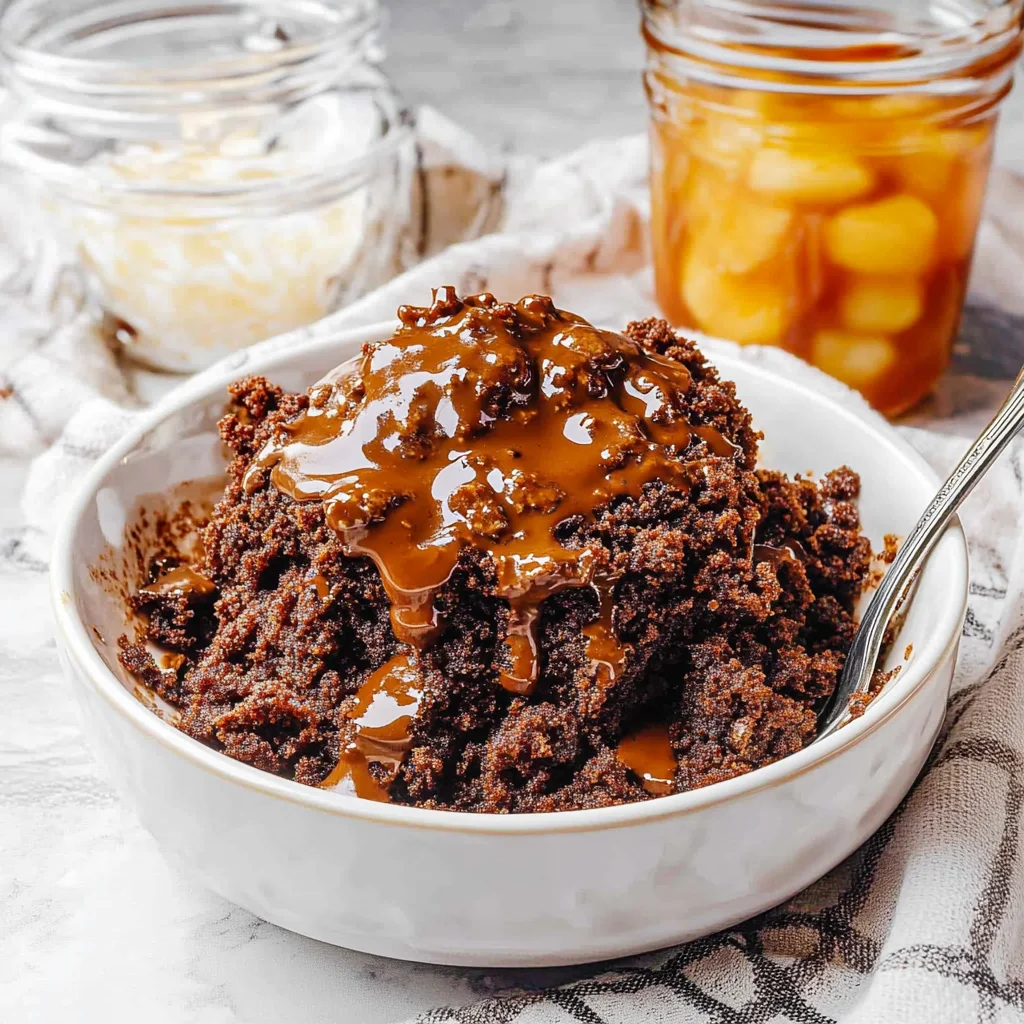
- Serve warm! This cake is absolutely divine straight out of the oven, perhaps with a scoop of vanilla ice cream or a dollop of whipped cream.
Substitutions & Additions
This Chocolate Dump Cake recipe is fantastic as is, but it’s also a blank canvas for your culinary creativity! Don’t be afraid to experiment.
- Switch up the Cake Mix: While chocolate is classic, imagine using a devil’s food cake mix for even deeper flavor, or even a yellow cake mix for a chocolate-vanilla swirl effect!
- Different Pudding Flavors: Try instant vanilla pudding mix for a delightful chocolate-vanilla contrast. Or, for an extra nutty kick, how about a peanut butter cup dump cake by swapping the chocolate pudding for peanut butter flavored pudding and adding peanut butter chips?
- Add Nuts: A sprinkle of chopped pecans, walnuts, or almonds over the chocolate chips before baking adds a lovely crunch.
- Caramel Swirl: Drizzle some caramel sauce over the top before baking, or even after it comes out of the oven for an extra layer of sweetness.
- Fruit Infusion: Believe it or not, a can of cherry pie filling or even a few handfuls of fresh raspberries can be “dumped” in with the cake mix for a fruit-and-chocolate dream!
- Extra Indulgence: If you’re feeling truly decadent, try adding a handful of mini marshmallows in the last 10 minutes of baking for a s’mores-like topping, or maybe some chopped candy bars. For those who can’t get enough chocolate, you could even double down and try making a decadent triple chocolate cheesecake for your next special occasion!
Tips for Success
Even though this is an incredibly simple recipe, a few little pointers can make sure your Chocolate Dump Cake turns out perfectly every single time.
- Don’t Over-Whisk: When you’re combining the milk with the dry mixes, a gentle whisk is all you need. We’re not trying to develop gluten here like a traditional cake. Just get rid of the major dry spots.
- Serve Warm: While delicious at room temperature, this cake truly shines when served warm. The melted chocolate chips are gooey, and the texture is just divine.
- Patience, My Friend: It might look a little messy going into the oven, but trust the process. The magic happens as it bakes!
- For a “No-Bake” Vibe (sort of): If you love easy chocolate desserts and want to explore other no-fuss options, you might enjoy whipping up a batch of no-bake chocolate lasagna too!
How to Store Chocolate Dump Cake
If you somehow manage to have leftovers (a rare occurrence with this recipe!), storing your Chocolate Dump Cake is super easy.
Once completely cooled, cover the baking dish tightly with plastic wrap or aluminum foil. You can store it at room temperature for up to 2 days, though I find it’s best enjoyed within the first day. For longer storage, you can pop it in the refrigerator for up to 4-5 days. If you want to warm up a slice, a quick 15-20 seconds in the microwave is usually all it takes to bring back that warm, gooey goodness.
FAQs
Got questions? I’ve got answers!
Q: Why is it called a “dump cake”?
A: It’s called a dump cake because you literally “dump” all the ingredients into a baking dish, with very minimal mixing required. It’s the ultimate low-effort, high-reward dessert!
Q: Can I use sugar-free cake mix or pudding?
A: You absolutely can! The texture might vary slightly, but it will still be delicious. Just make sure to use instant pudding mix, not cook-and-serve.
Q: What’s the best way to serve Chocolate Dump Cake?
A: Warm with a scoop of vanilla ice cream, a dollop of whipped cream, or a drizzle of chocolate syrup is always a winner! Some folks love it with a glass of cold milk.
Q: Can I prepare this ahead of time?
A: You can assemble it a few hours ahead and keep it covered in the refrigerator, then bake when you’re ready to serve. I wouldn’t recommend assembling it more than a day in advance, as the dry ingredients can absorb too much moisture.
For more delicious and easy recipes, be sure to follow us on Pinterest!
Seriously Simple Chocolate Dump Cake
Ingredients
Equipment
Method
- Step 1: Preheat your oven to 350°F (175°C). Grab a 9x13-inch baking dish and give it a good spray with non-stick cooking spray.
- Step 2: Carefully spread the entire chocolate cake mix in an even layer across the bottom of your prepared dish. Next, sprinkle the instant chocolate pudding mix right over the cake mix. Pour the whole milk evenly over those dry ingredients. Take a fork or a small whisk and gently, gently whisk just to combine the milk with the dry mixes; you don't need to be aggressive, just make sure there are no huge pockets of dry mix remaining.
- Step 3: Next up, drizzle that glorious melted butter evenly over the top of your cake mixture. Finally, sprinkle those semi-sweet chocolate chips all over.
- Step 4: Pop your dish into the preheated oven and bake for 40-45 minutes. You're looking for the edges to be bubbly and set, and the top to be slightly firm. The middle will still be wonderfully gooey, and that's exactly what we want!
- Step 5: Serve warm! This cake is absolutely divine straight out of the oven, perhaps with a scoop of vanilla ice cream or a dollop of whipped cream.